

Installing a downspout system in under 60 minutes isn't just possible, it's achievable with the right approach and tools. The key lies in choosing systems that require only basic tools like a screwdriver, proper planning of placement every 30-40 feet of gutter, and having all materials ready before starting.
Modern downspout systems with universal adapters and snap-fit designs have transformed what once took half a day into a quick weekend project.
Why Speed Matters in Downspout Installation
Every minute your downspouts remain uninstalled or improperly positioned, rainwater threatens your home's foundation. Water pooling near foundations causes an estimated $3 billion in damages annually across U.S. homes, with most issues stemming from inadequate drainage systems.
The traditional installation process often stretches to 3-4 hours due to complex cutting requirements, multiple specialized tools, and trial-and-error fitting. However, recent innovations in downspout design have slashed installation times dramatically.
Products requiring only a screwdriver for assembly can reduce installation time by up to 75% compared to traditional systems.
Essential Pre-Installation Planning (15 minutes)
Determining Downspout Placement
Optimal downspout spacing follows the 30-40 foot rule. One downspout for every 30-40 feet of gutter run. This calculation prevents overflow during heavy rainfall while minimizing installation points.
Focus placement on:
- Building corners where water naturally accumulates
- Roof valleys that channel high water volumes
- Areas directing water 5-10 feet from foundation walls
Tool and Material Assembly
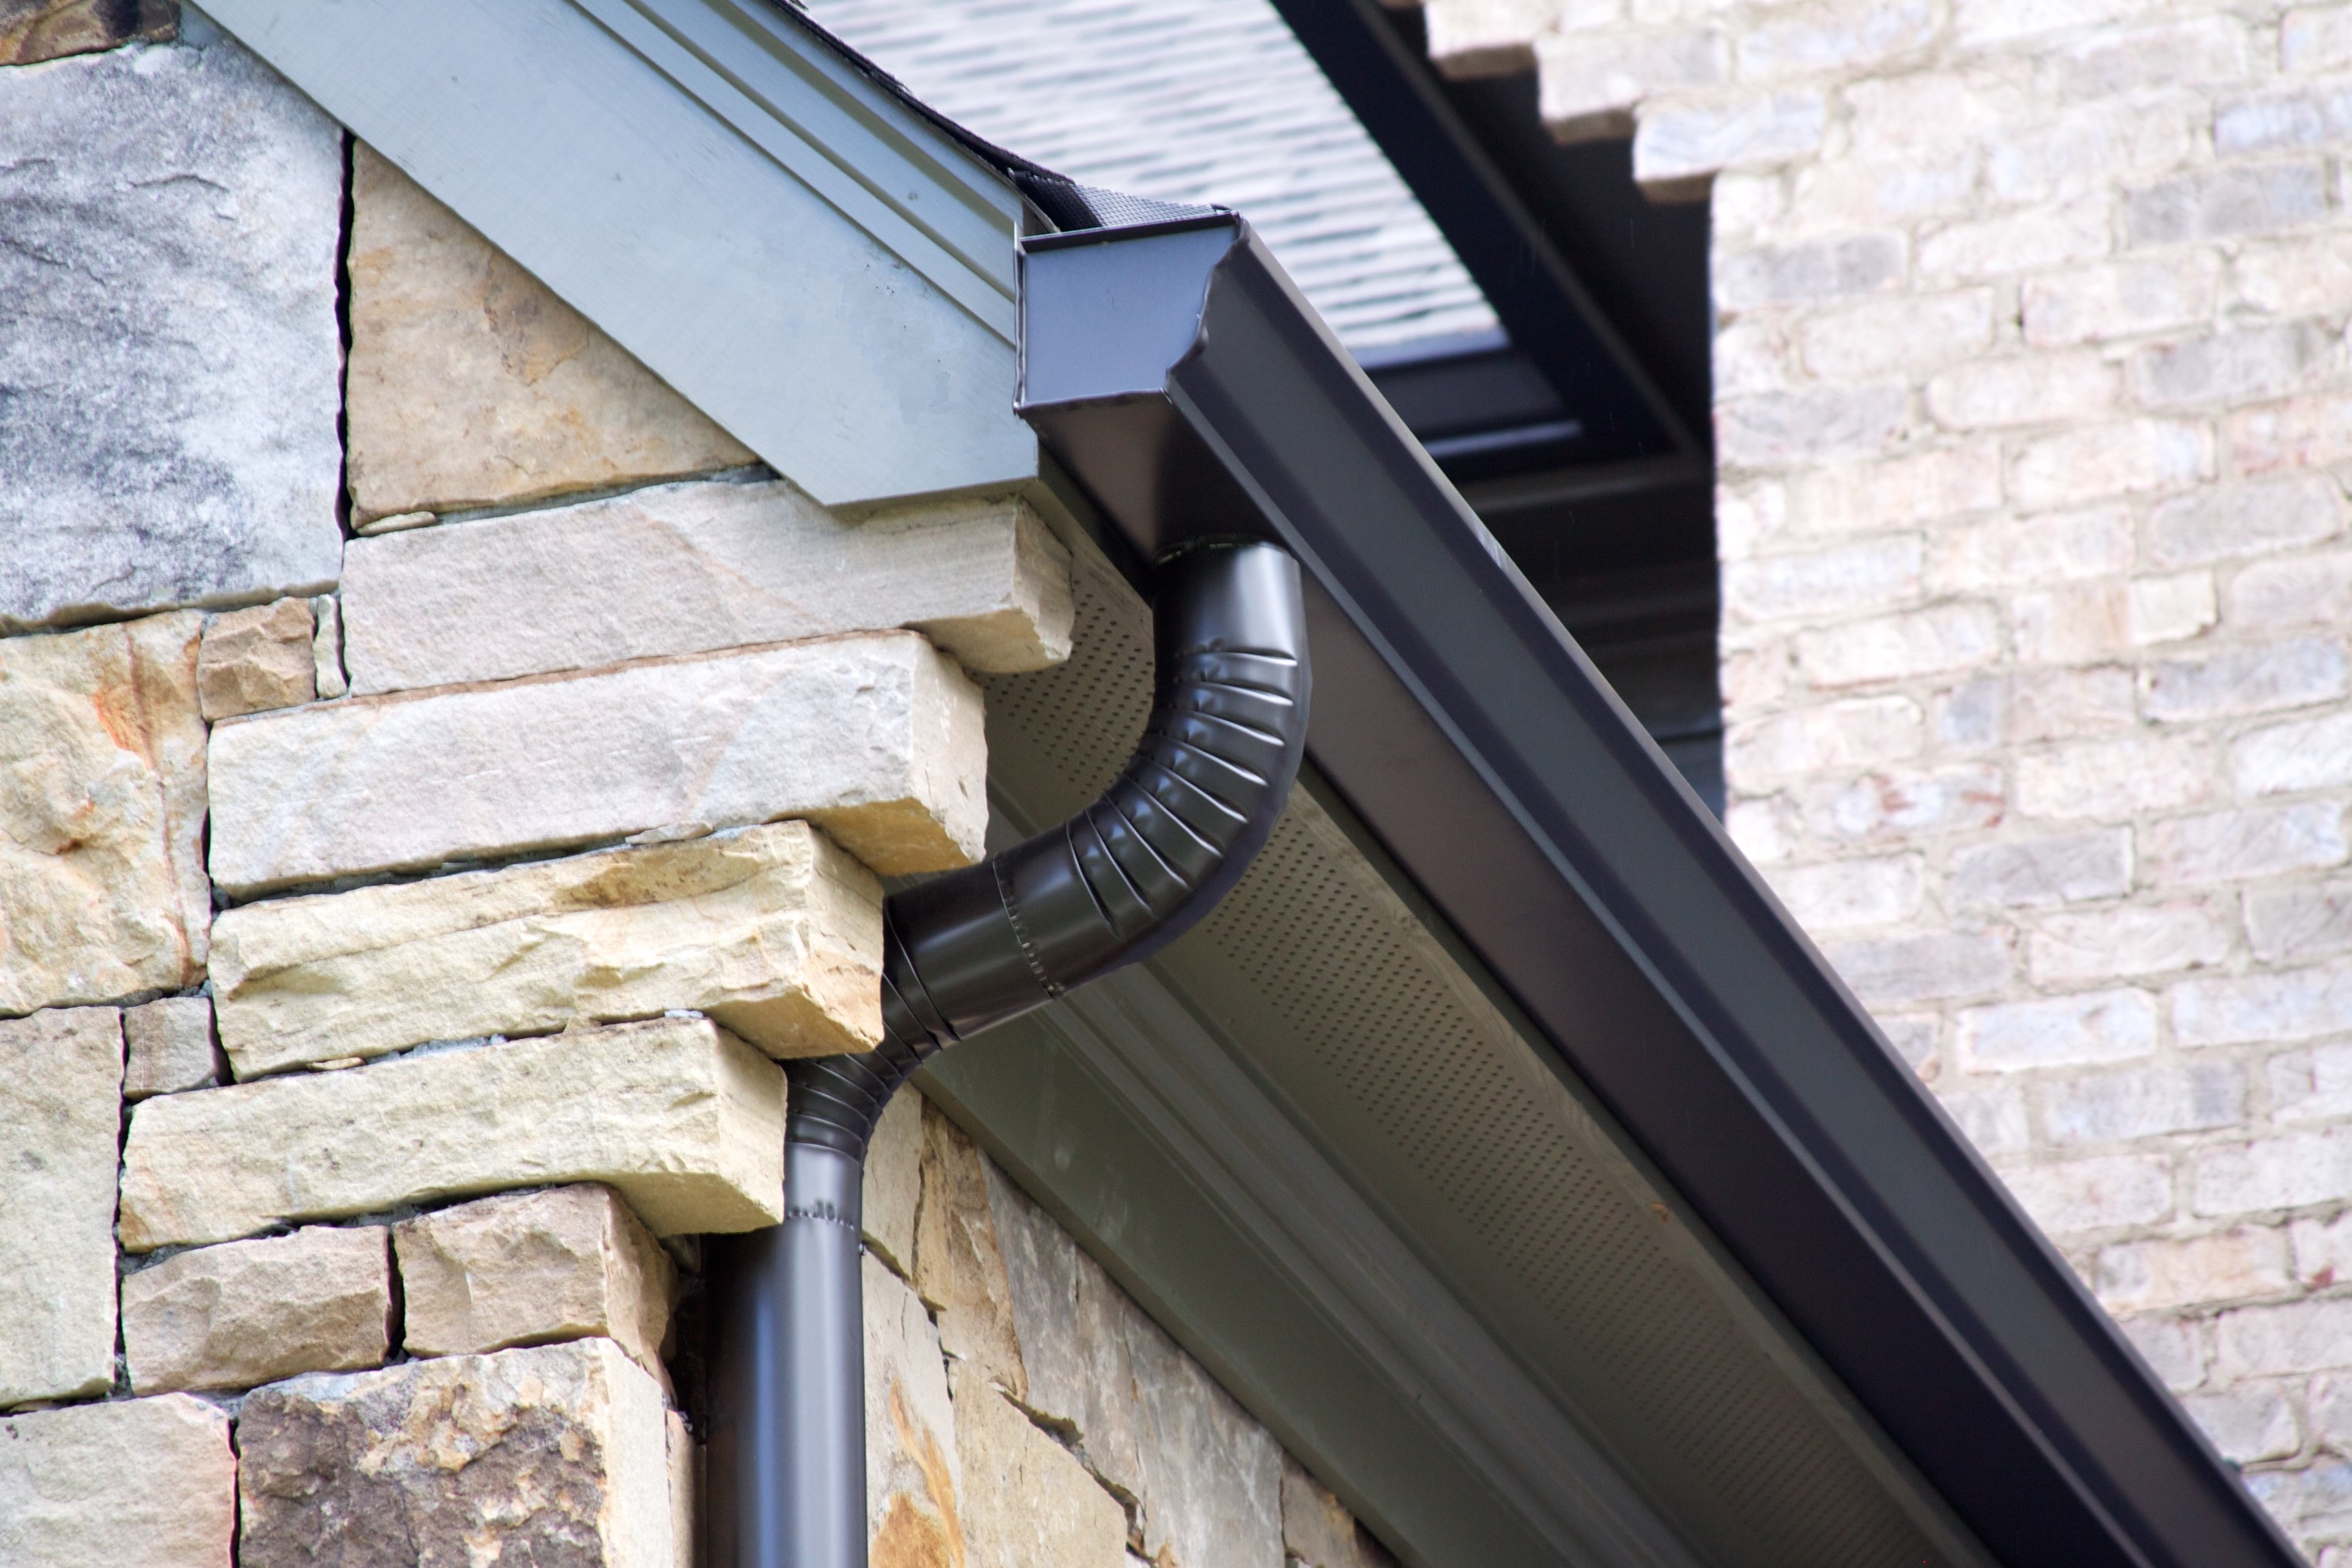
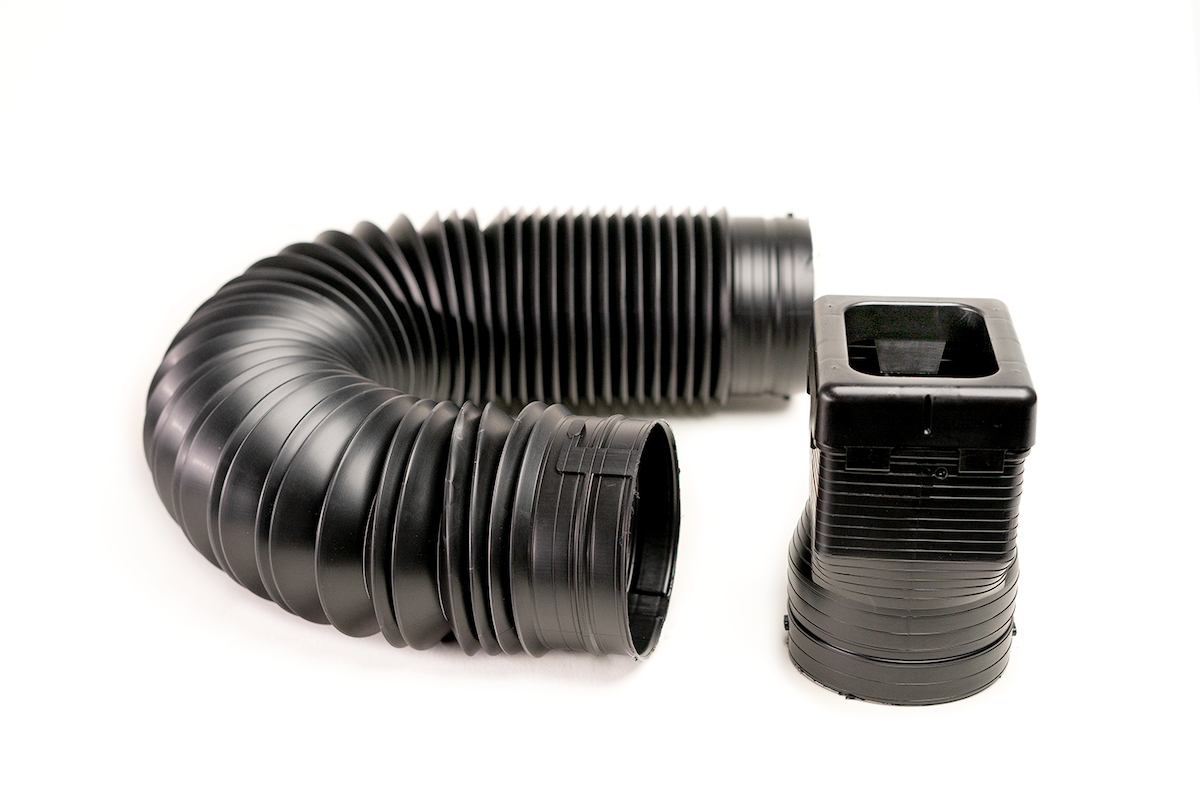
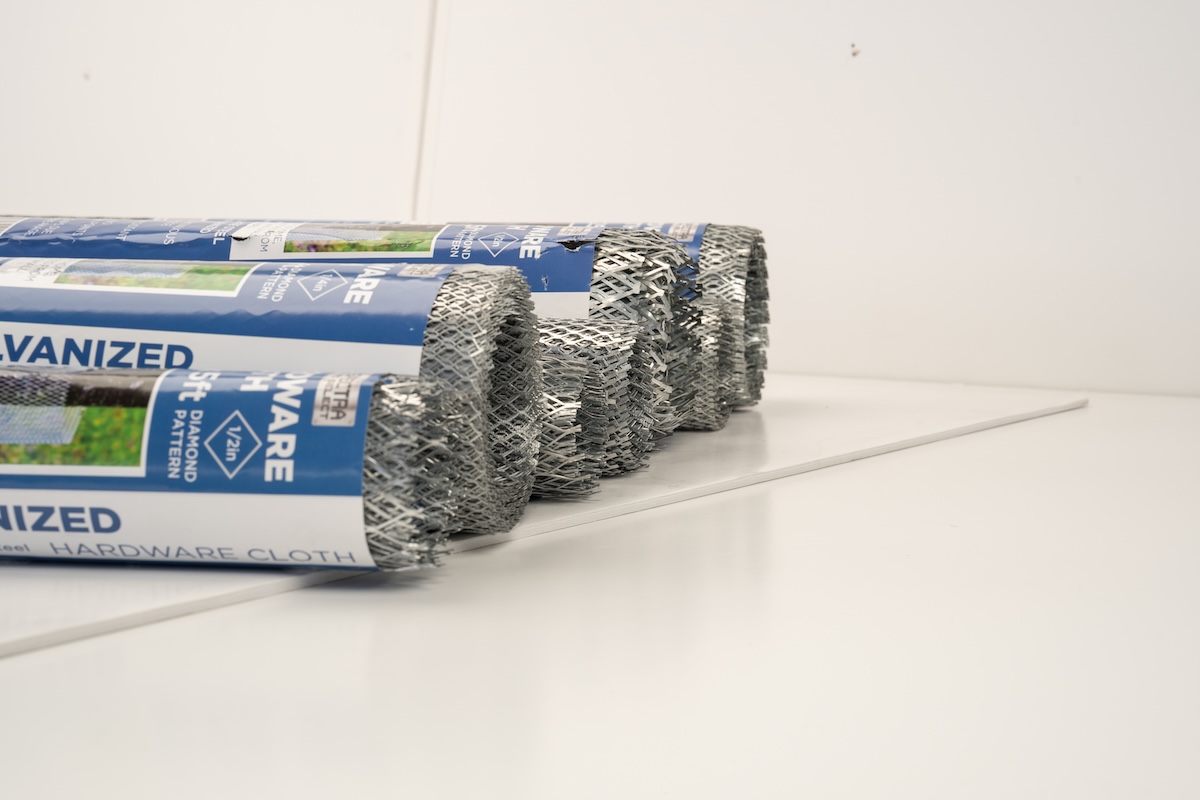
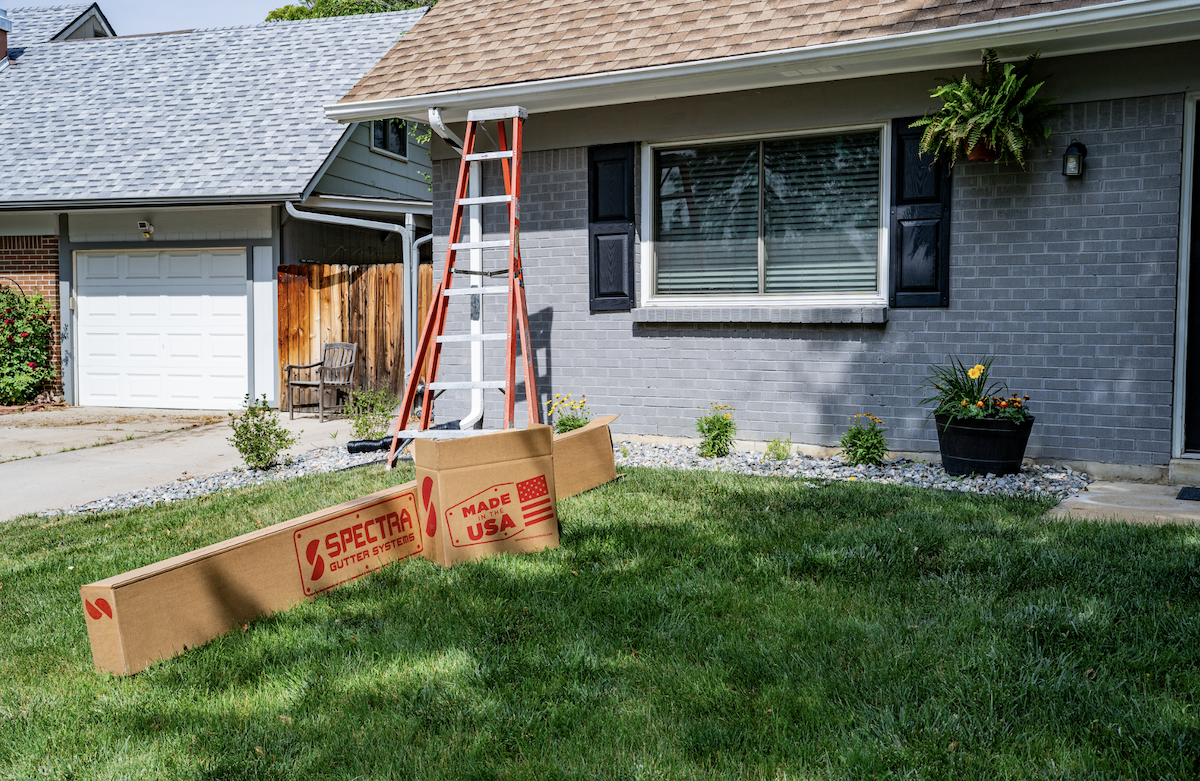
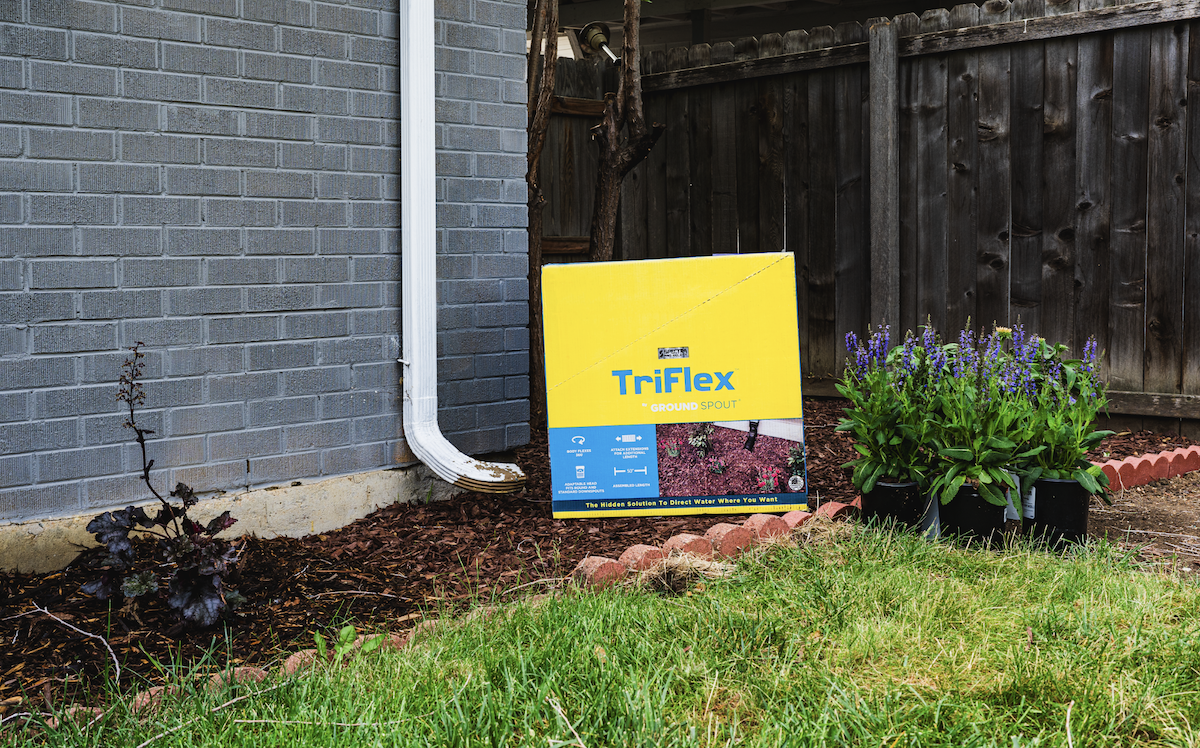
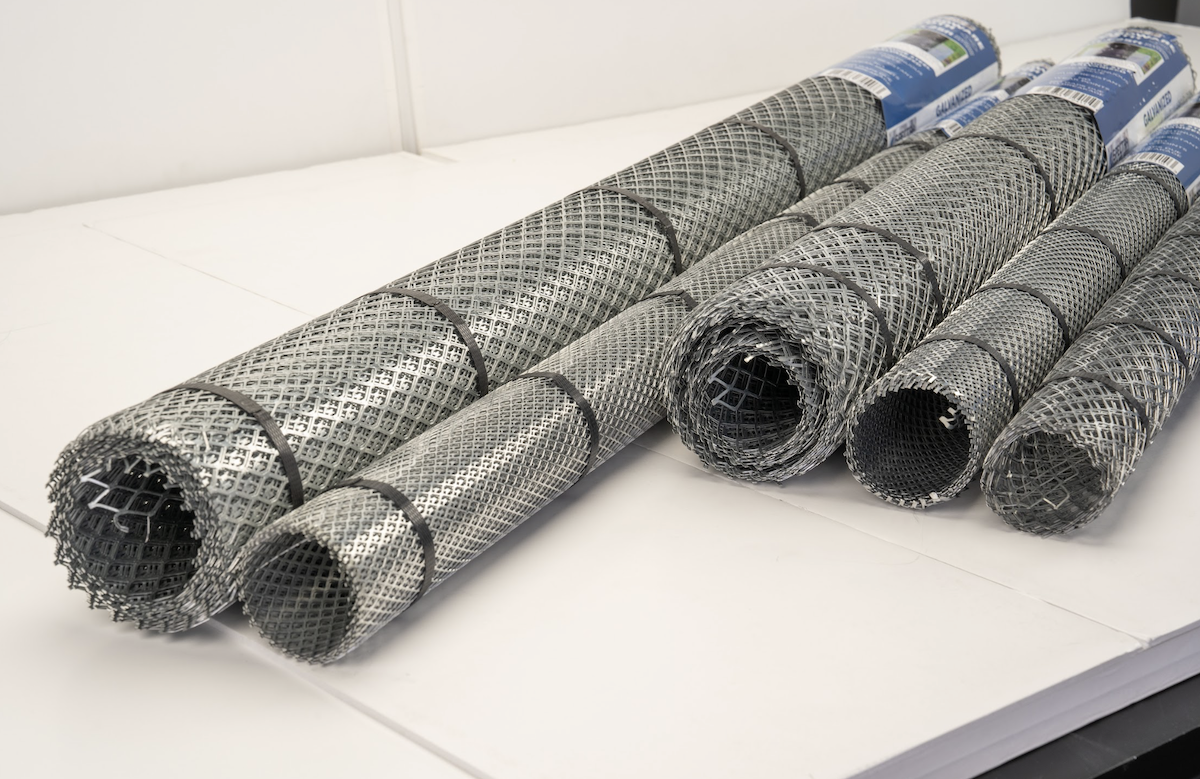
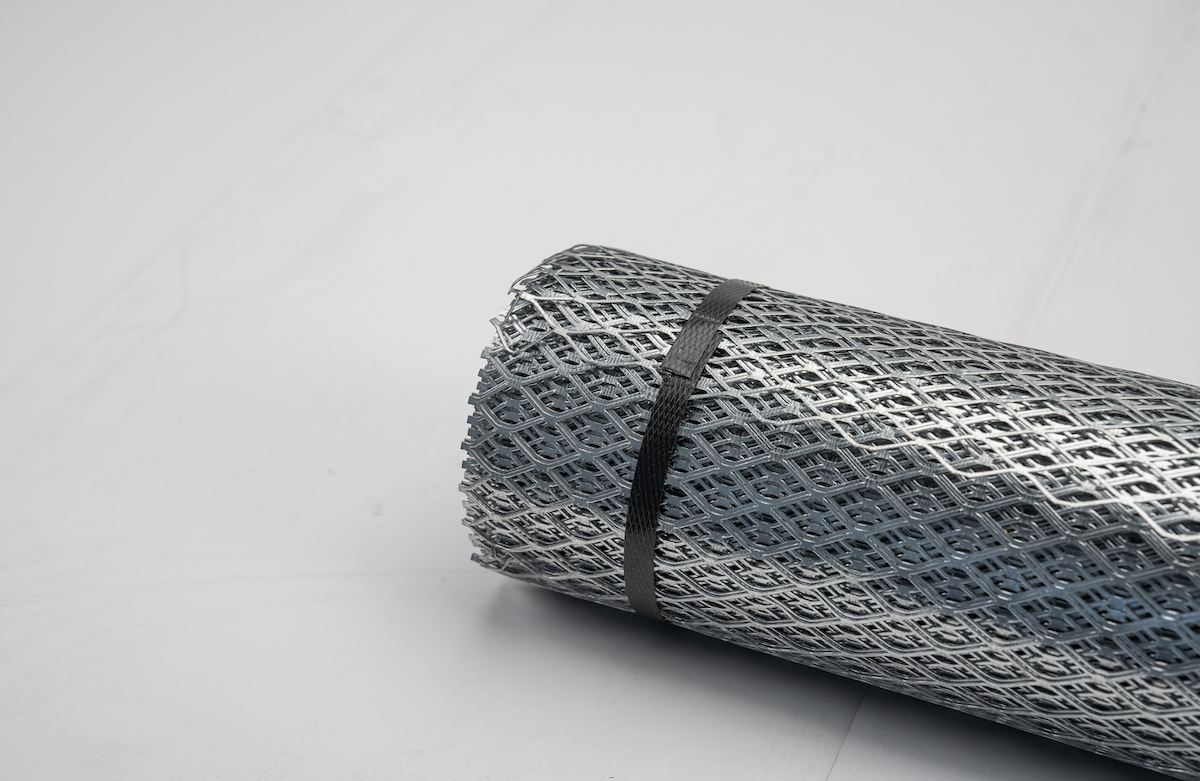
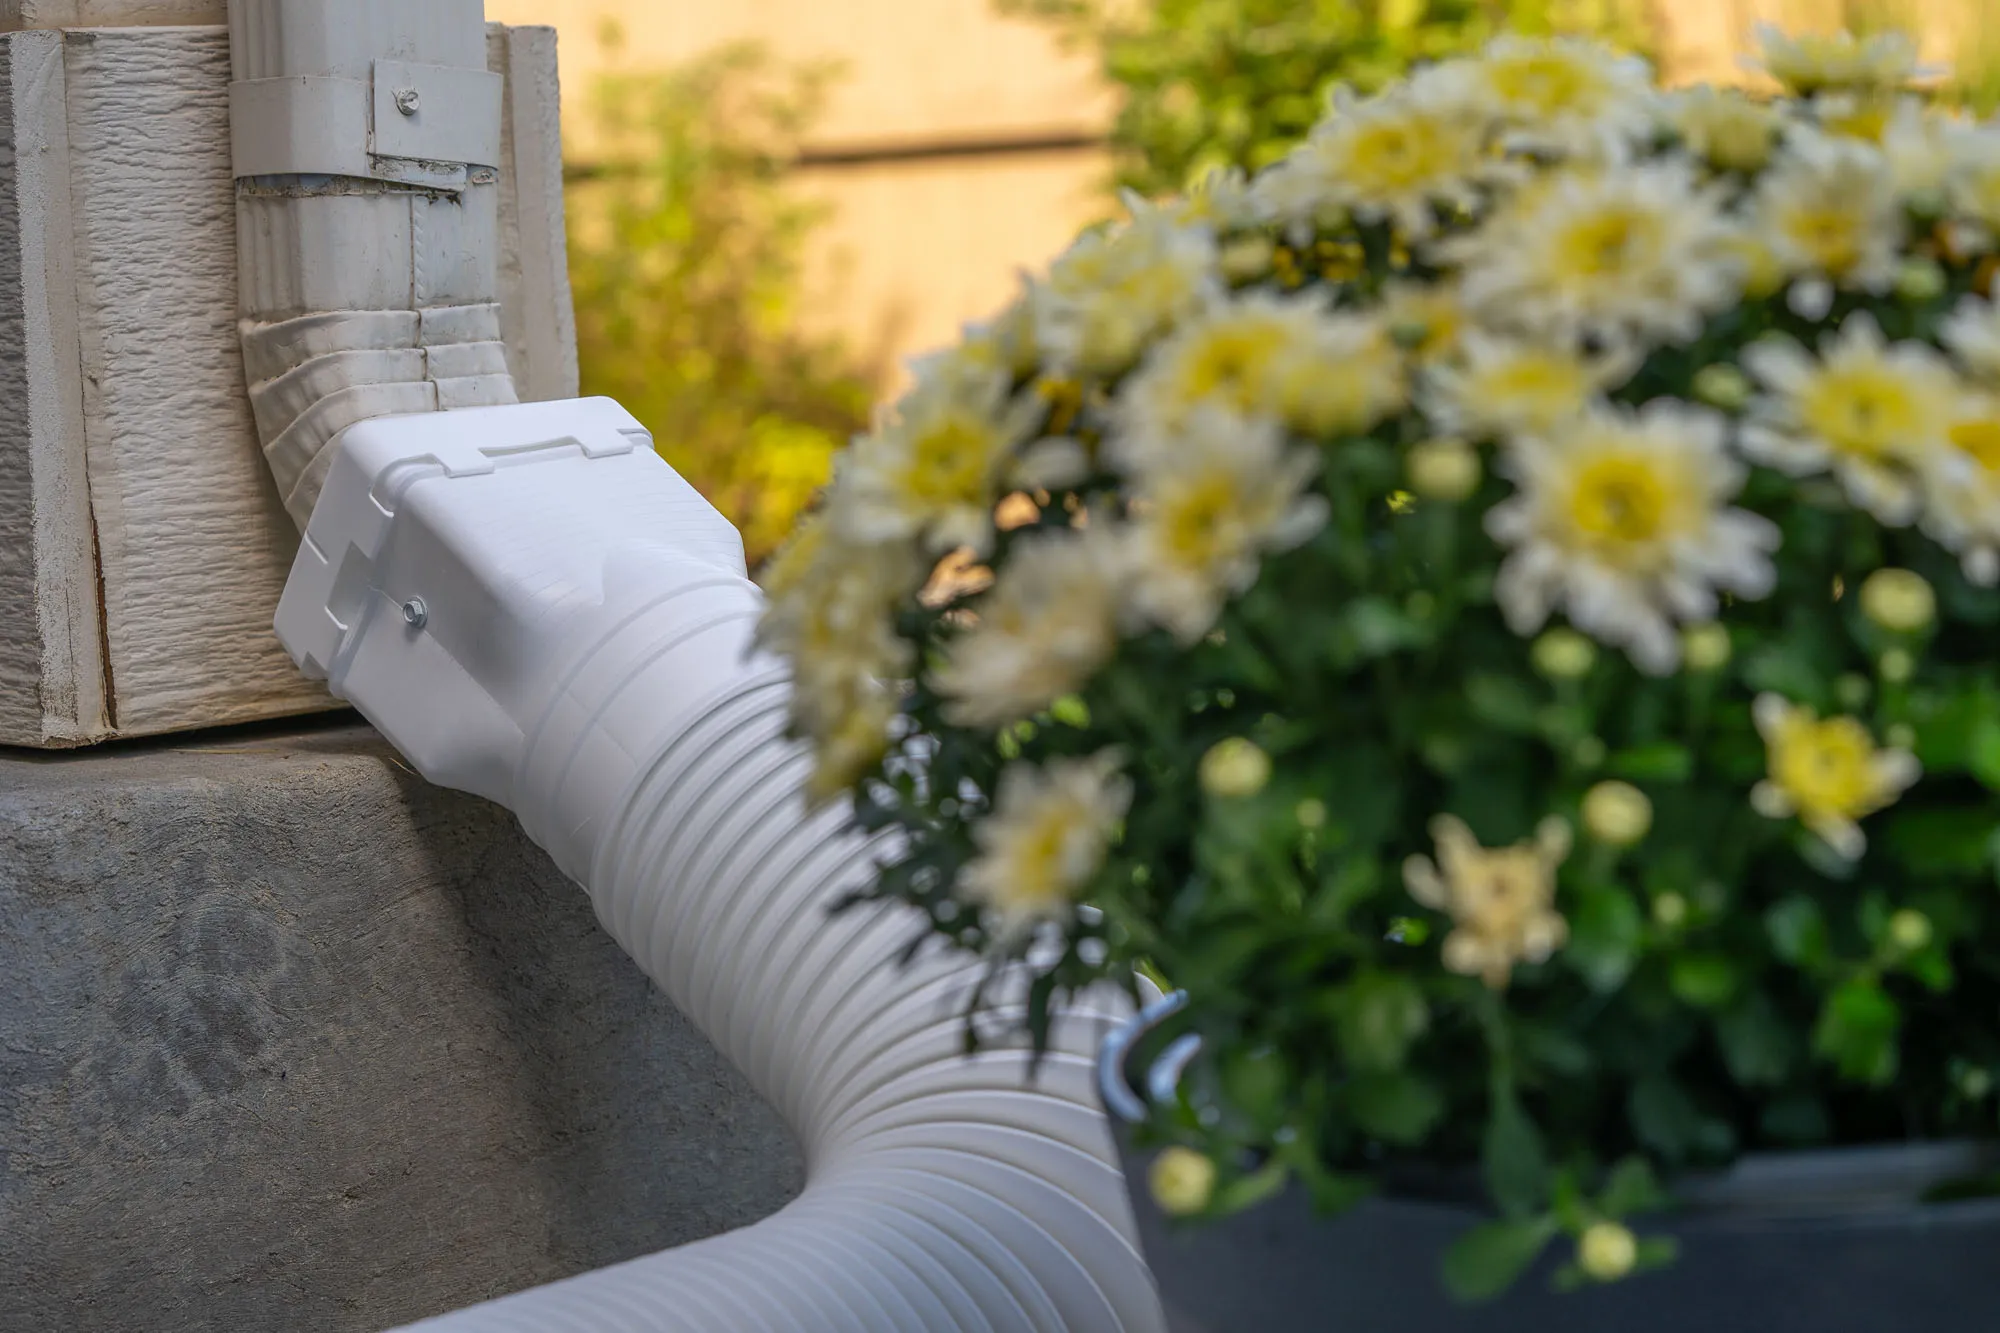
Modern installations require minimal equipment. Systems like Spectra Pro Select's Ground Spout require only a simple screwdriver, eliminating the need for hacksaws, tin snips, or power tools.
Quick-Install Shopping List:
- Downspout sections (pre-measured when possible)
- Universal connectors compatible with 2"x3", 3"x4", or 4" round gutters
- Wall brackets (one per 6-8 feet of downspout)
- Ground-level extensions
- Single screwdriver
The 45-Minute Installation Process
Step 1: Attachment Point Preparation (5 minutes)
Begin at the gutter outlet. Modern universal adapters eliminate the measuring and cutting that traditionally consumed 20-30 minutes of installation time. Simply align the adapter with your existing gutter opening.
The beauty of contemporary designs lies in their flexibility. Products engineered to fit around curves and angles without specialized cutting save significant time while maintaining proper water flow.
Step 2: Vertical Section Installation (15 minutes)
Traditional methods required precise measurements, cutting, and crimping of downspout sections. Today's snap-together systems change this entirely. Position your first section against the wall, ensuring it remains plumb using a basic level.
Secure brackets every 6-8 feet along the downspout run. With pre-drilled mounting holes, each bracket takes under two minutes to install—a fraction of the time needed for custom-drilled placements.
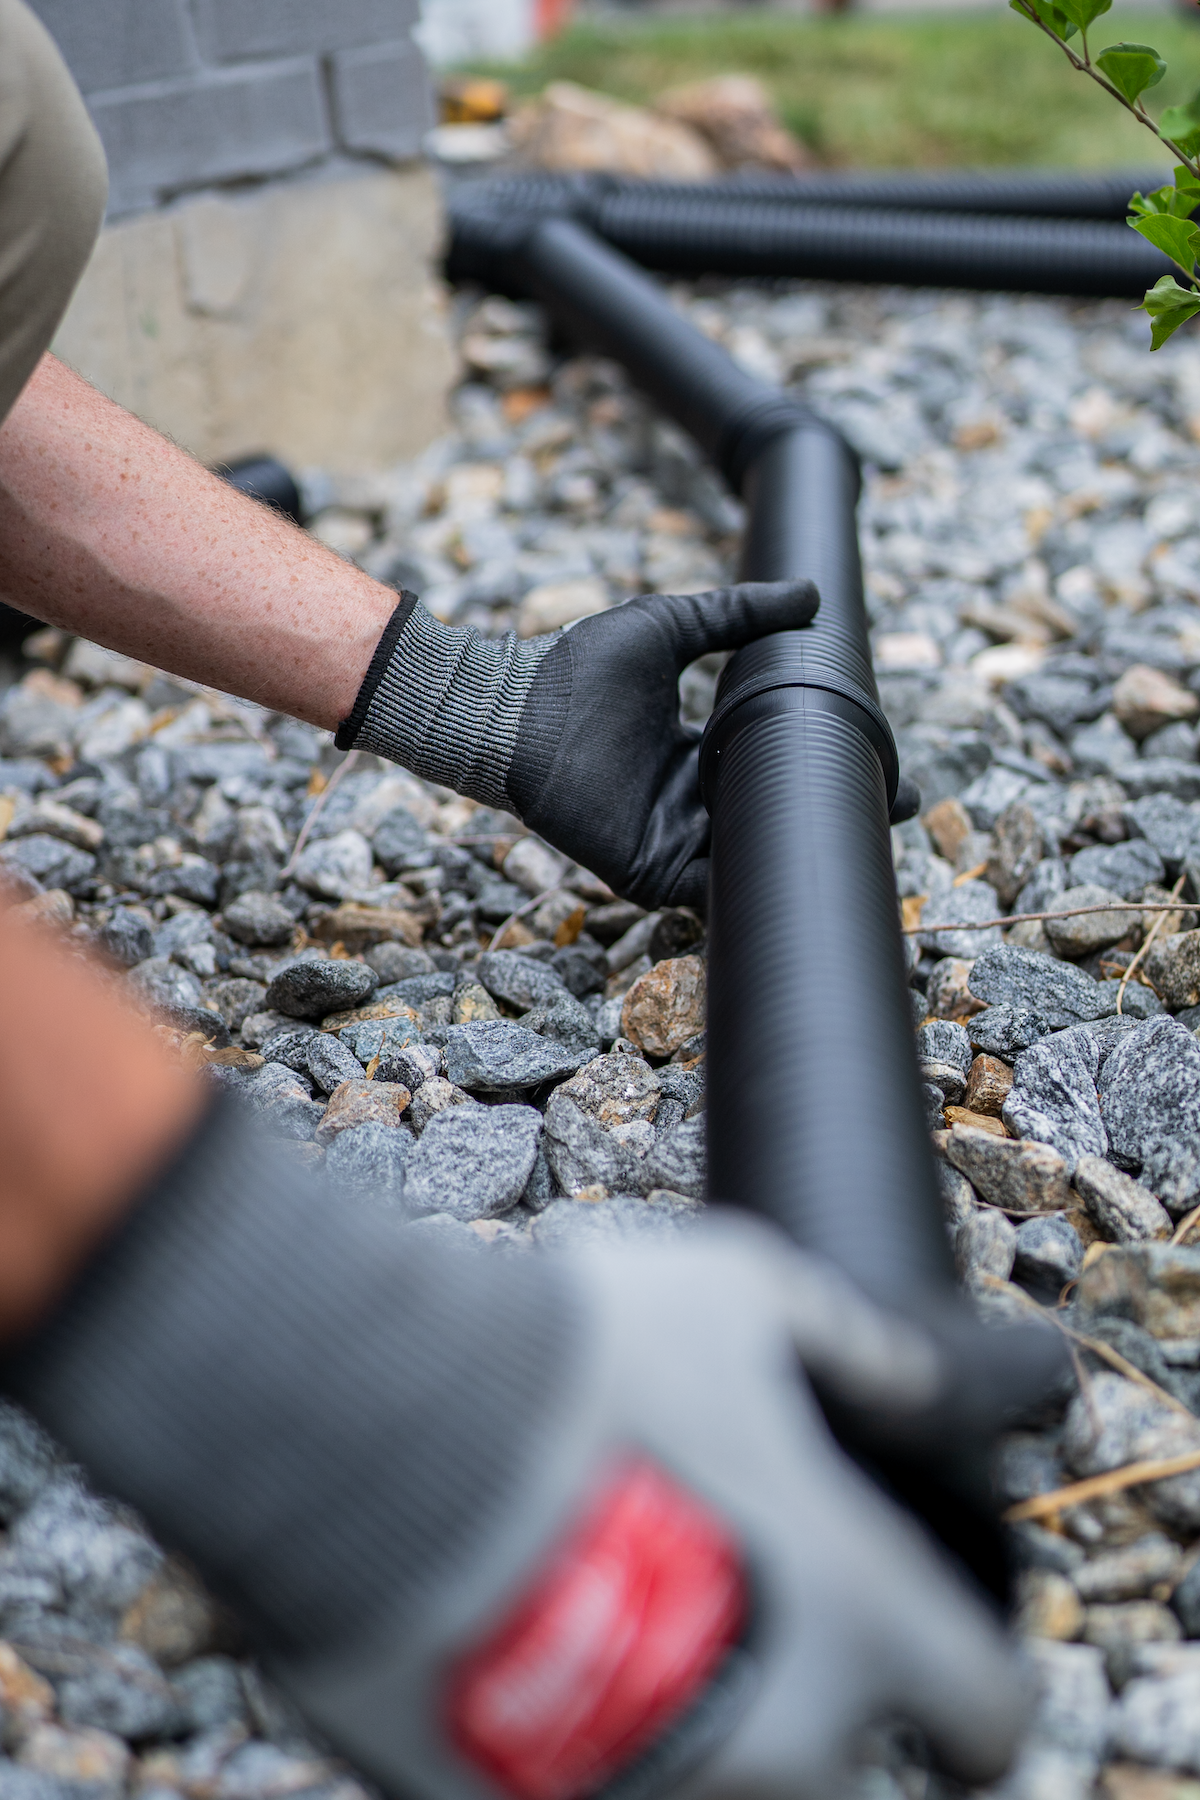
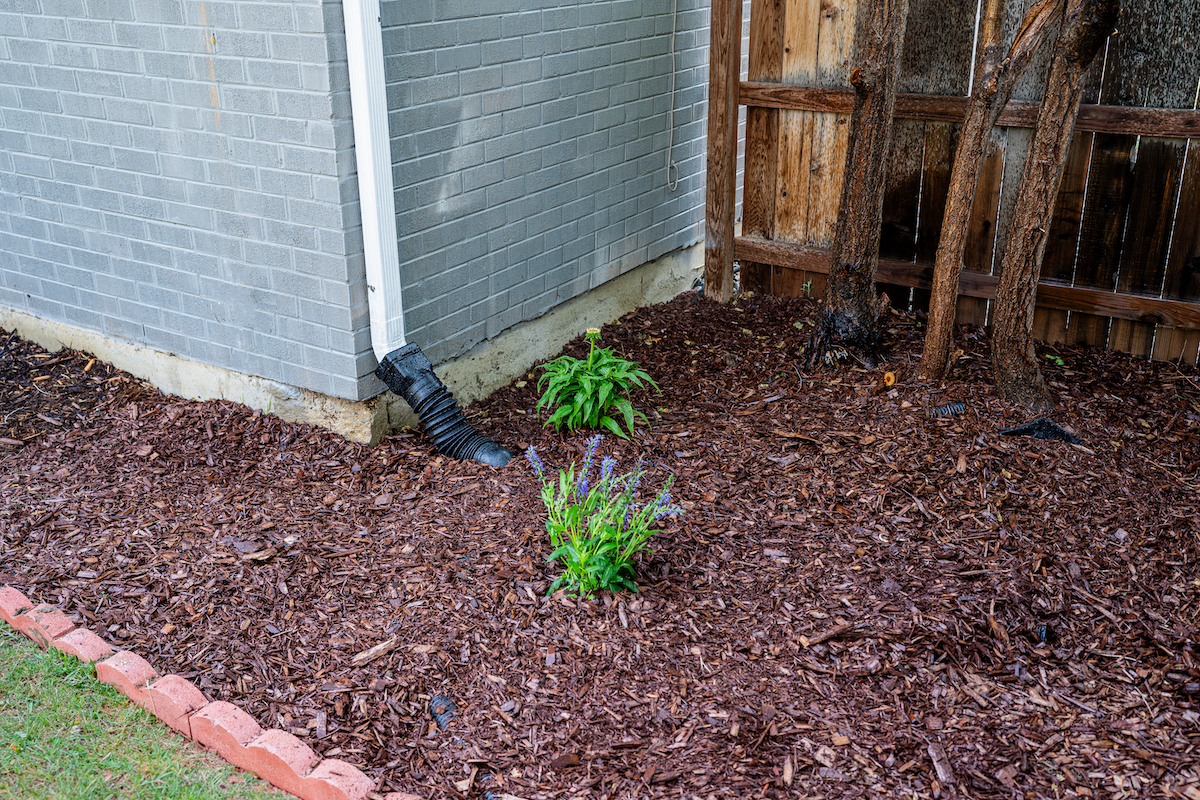
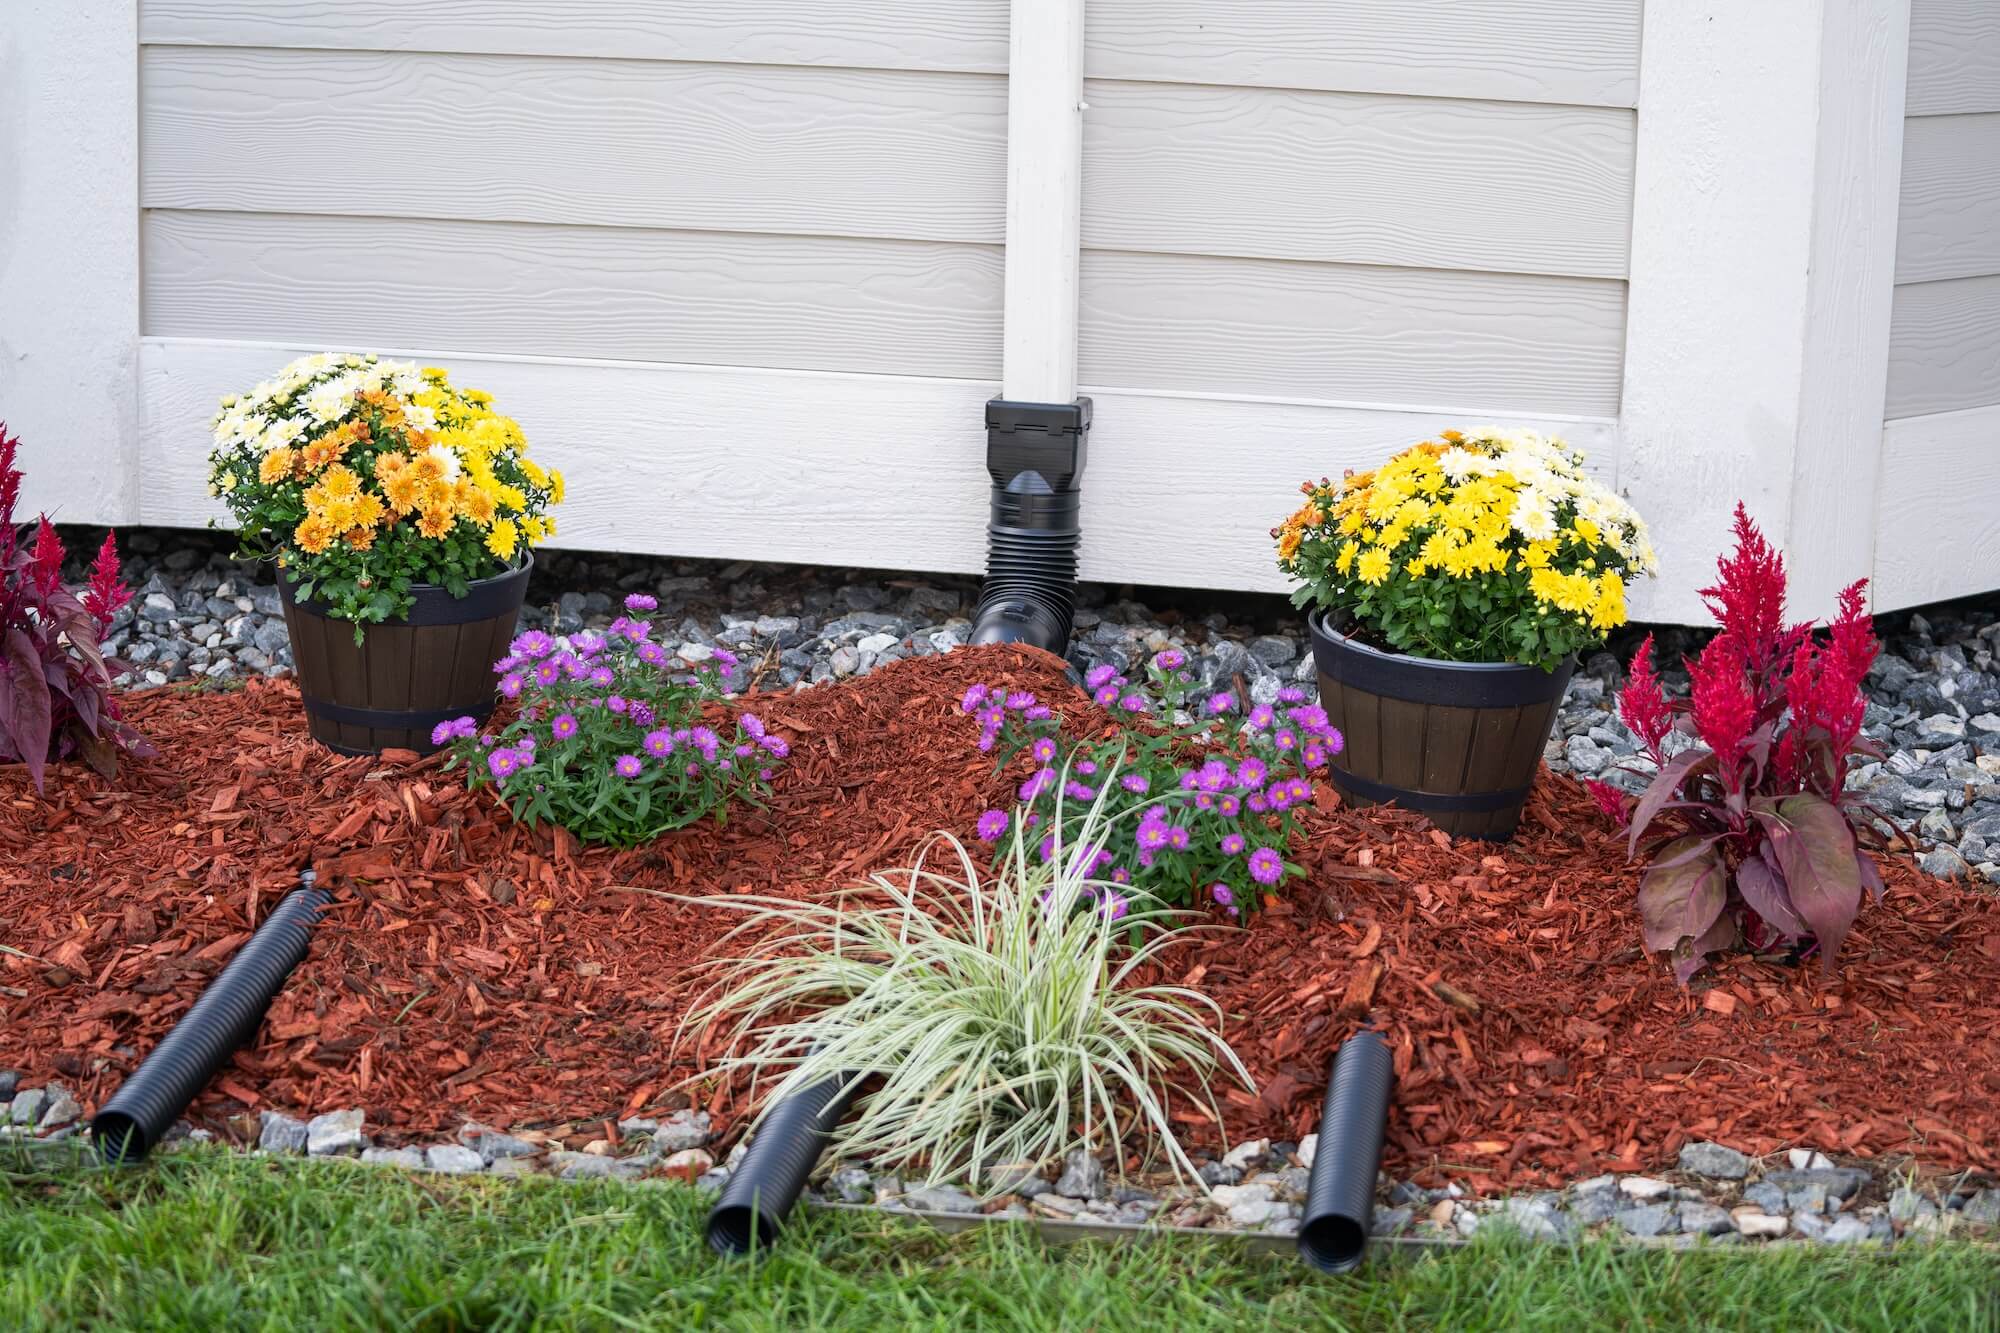
Step 3: Ground-Level Water Direction (20 minutes)
This stage traditionally involved digging trenches or complex underground piping. Modern surface-level solutions eliminate this labor-intensive process. Ground spout systems now feature built-in flexibility to navigate landscape obstacles without cutting or joining multiple pieces.
The installation involves:
- Connecting the extension to the downspout base
- Extending it 5-10 feet from the foundation
- Securing with provided ground stakes
Step 4: System Testing (5 minutes)
Run water through the system using a garden hose at the gutter level. Proper flow rate should clear a 5-gallon bucket's worth of water in under 30 seconds. Check all connection points for leaks and ensure water exits well away from the foundation.
Advanced Time-Saving Techniques
The Assembly Line Method
When installing multiple downspouts, resist the urge to complete each one individually. Instead:
- Install all gutter attachments first
- Mount all wall brackets in sequence
- Connect all vertical sections
- Add all ground extensions last
This method reduces tool switching and ladder repositioning, cutting total time by 25%.
Pre-Installation Optimization
Professional installers report that 80% of delays stem from inadequate preparation rather than actual installation challenges. Combat this by:
- Pre-assembling ground extensions indoors
- Marking bracket locations with chalk before mounting
- Having a partner feed materials while you work from the ladder
Common Speed Killers to Avoid
Mismatched Components
Using incompatible sizes between gutters and downspouts creates connection delays that can add 30+ minutes to installation. Verify sizing compatibility before purchase—standard sizes include 2"x3" and 3"x4" rectangular, plus 4" round options.
Improper Slope Calculation
Water must flow away from your foundation at a minimum 1% grade. Inadequate slope forces reinstallation in 40% of DIY projects. Use a simple 2-foot level with a ½" shim under one end to verify proper angle quickly.
Over-Engineering Simple Solutions
Avoid the temptation to add unnecessary components. Studies show that 90% of residential properties achieve adequate drainage with surface-level extensions rather than buried pipes.
Material Innovations Driving Faster Installation
Polypropylene vs. Traditional Materials
Modern polypropylene construction offers durability matching aluminum while weighing 60% less. This weight reduction translates to:
- Easier single-person handling
- Reduced ladder strain
- Faster positioning and adjustment
Color-Matched Systems
Available colors including white, brown, black, and green eliminate painting time. Pre-colored materials save an average of 2-3 hours compared to prime-and-paint metal alternatives.
Real-World Installation Scenarios
Single-Story Ranch: 35 Minutes
For a typical 1,500 square foot ranch home requiring two downspouts:
- Planning and layout: 10 minutes
- Installation of both downspouts: 20 minutes
- Testing and adjustment: 5 minutes
Two-Story Colonial: 55 Minutes
A 2,500 square foot colonial needing three downspouts:
- Initial setup: 15 minutes
- Three downspout installations: 35 minutes
- Final testing: 5 minutes
The key difference lies in ladder positioning time, not installation complexity.
Post-Installation Performance Metrics
Properly installed downspouts should handle 3-4 inches of rainfall per hour without overflow. Test your system's capacity by calculating:
- Roof square footage ÷ number of downspouts = drainage area per spout
- Each 100 square feet requires 1 gallon per minute flow rate
Maintenance for Continued Quick Function
Your sub-hour installation remains effective only with proper maintenance:
- Quarterly debris checks (5 minutes)
- Annual connector inspection (10 minutes)
- Bi-annual flow testing (15 minutes)
Systems maintaining original flow rates after 5 years correlate with 95% foundation damage prevention.
When to Call Professionals
Despite the ease of modern systems, certain scenarios warrant professional installation:
- Rooflines exceeding 25 feet require specialized equipment
- Historic homes may need custom-fabricated components
- Properties with complex grading need engineered solutions
The Economic Argument for Quick Installation
DIY installation saves an average of $300-500 per downspout compared to professional services. When factoring time investment:
- Traditional installation (3-4 hours): $75-100 per hour saved
- Modern quick-install (under 1 hour): $300-500 per hour saved
This dramatic efficiency improvement makes DIY installation economically attractive even for busy homeowners.
Installing downspout systems in under an hour has shifted from ambitious goal to realistic expectation. The combination of tool-minimal designs, universal sizing, and flexible materials has democratized what once required professional expertise.
By focusing on preparation, choosing appropriate materials, and following the systematic approach outlined above, homeowners can protect their foundations efficiently without sacrificing weekends to complex installations.
FAQs on Installing Downspout Systems
What's the minimum number of tools needed for a quick downspout installation?
With modern systems like Spectra Pro Select's Ground Spout, you only need a screwdriver. Traditional installations require hacksaws, tin snips, drills, and levels, but newer universal-fit designs eliminate these requirements. Having a level and measuring tape helps ensure proper placement, but they're not essential for the actual installation.
How do I know if my gutters need additional downspouts?
Follow the 30-40 foot rule. Install one downspout for every 30-40 feet of gutter. Signs you need more downspouts include water overflowing during moderate rain, gutters sagging between supports, or water pooling near your foundation after storms. Most single-story homes need 2-3 downspouts, while two-story homes typically require 3-4.
Can I install downspouts in winter or freezing temperatures?
Yes, but avoid installation when ice is present on gutters or during active precipitation. Modern polypropylene materials remain flexible in cold weather unlike metal alternatives. The main challenge is ladder safety on potentially frozen ground. If temperatures are above 25°F and conditions are dry, installation proceeds normally.
What's the most common mistake that adds time to installation?
Incorrect slope calculation causes 40% of DIY installers to redo their work. Ensure water flows away from your foundation at a minimum 1% grade, that's a ¼-inch drop per foot of extension. Test with water immediately after installation rather than waiting for rain to discover flow problems.


.jpg)
.jpg)


.webp)

.webp)


